In this blogpost I will demonstrate how to configure Parallels RAS to use Nutanix AHV as a provider, and how to do image management and deploy VDI desktops via Parallels RAS on Nutanix AHV. I will not cover how-to install the Parallels Remote Application Server (For Citrix readers the Delivery Controller 😉 ) and will not cover how-to create your golden image (master images, template, etc). I assume you already have this created. The blogpost will cover more then needed for the Nutanix AHV part, but this is also for my own reference 😉
Provider:
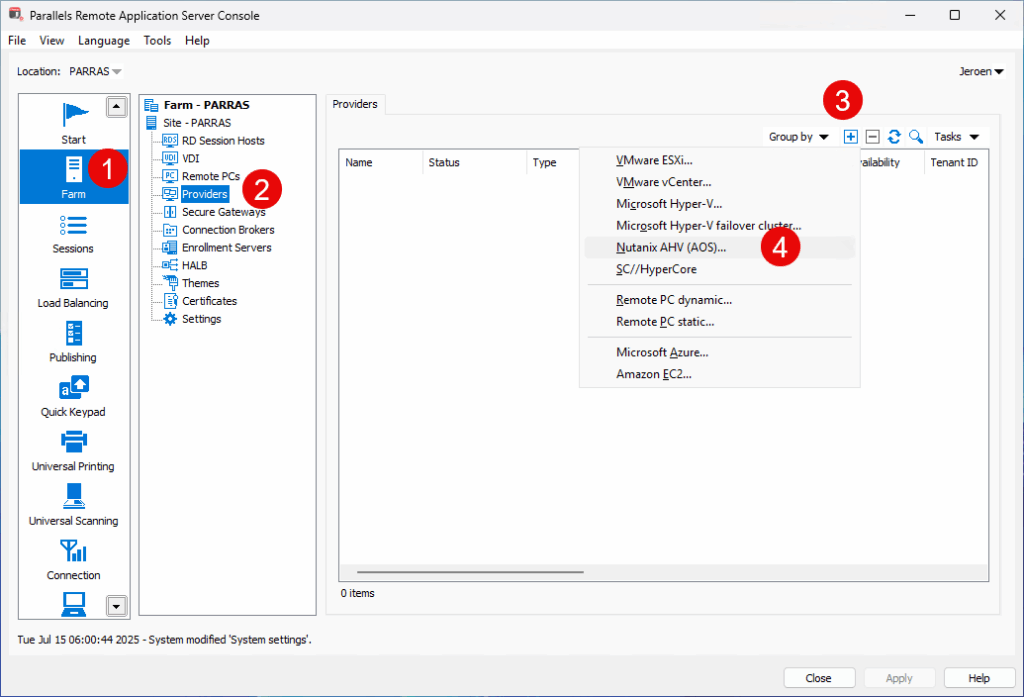
We first start by configuring Nutanix AHV as a provider in Parallels RAS. Open the console and navigate to Farm –> Your Site –> Providers, and click on “+” Nutanix AHV (AOS).
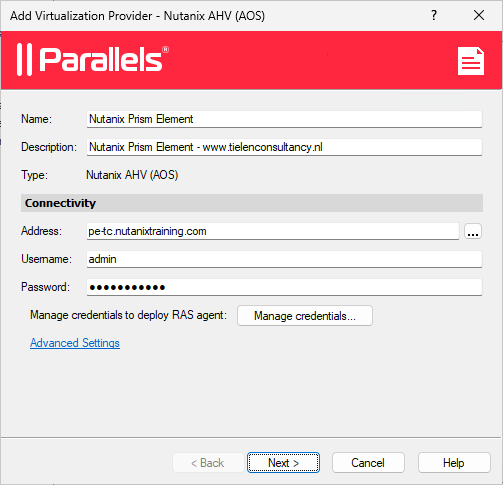
Fill in all fields. I’m using a FQDN as address, you can use an IP-Address as well.
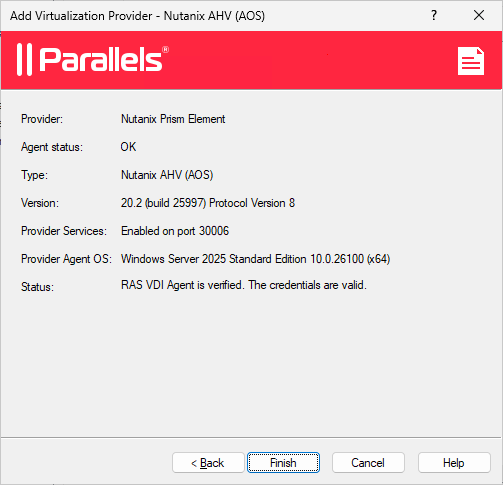
When the connection is successful you should see that the RAS VDI Agent is verified and credentials are valid.
Add Template:
I have created a Windows 11 golden image which I want to use for the VDI desktops. The template is running, domain joined and got all applications installed. I’ve even logged on with a domain user to install all applications ;). I do created a recovery point in Prism Central. Just to be sure I can always go back to this state. No optimization is done. Click on VDI –> Templates –> “+” –> Select the Golden Image –> Next.
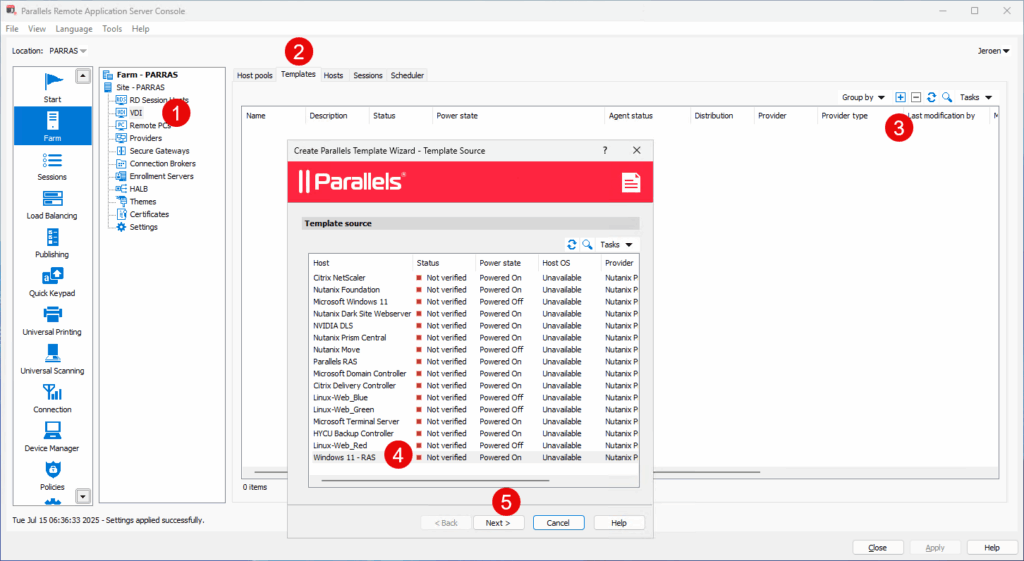
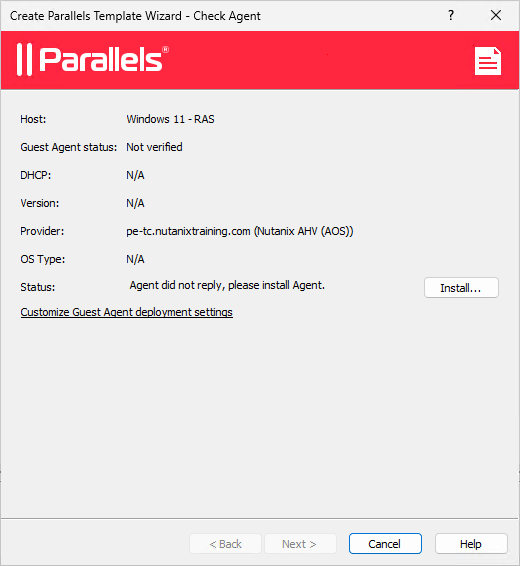
The wizard will check if the agent is installed and running, if not click install to install it.
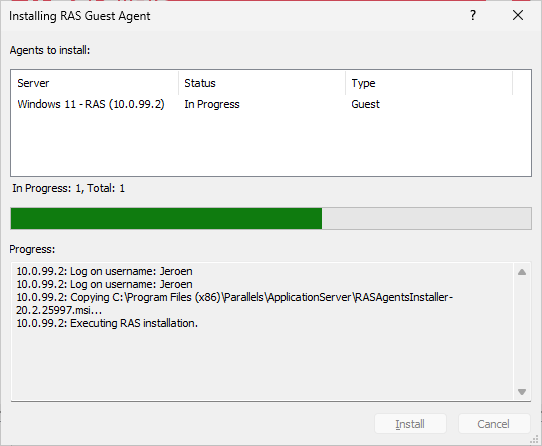
Agent is being deployed.
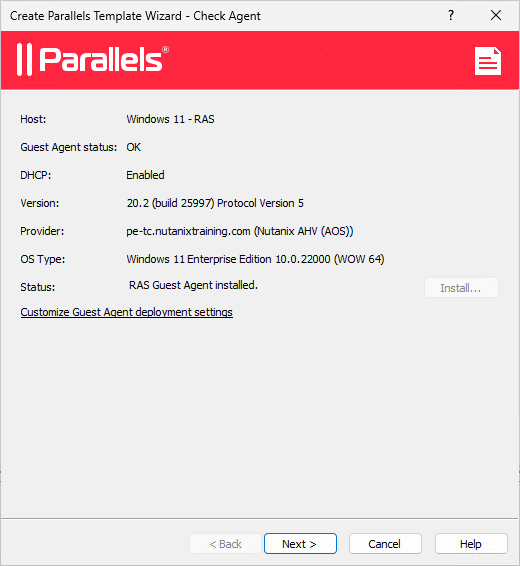
When agent is deployed and replying back click on Next.
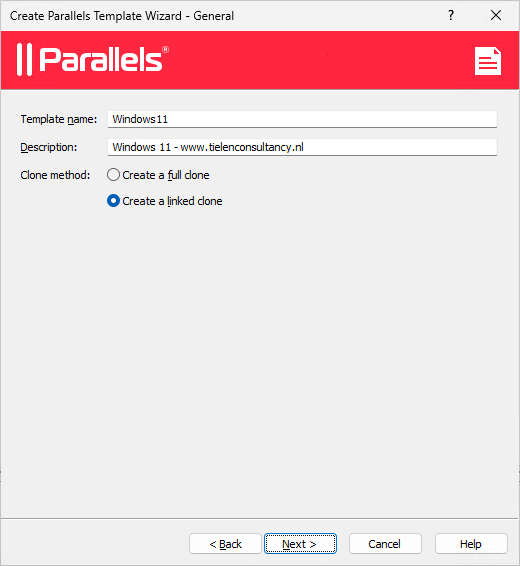
Give the template a name and description. For the Clone method we choose linked clones. A full clone does not make any sense when running Nutanix, as the HCI internals will always use linked clones 😉 (There are differences when updating the template when using linked/full clones)
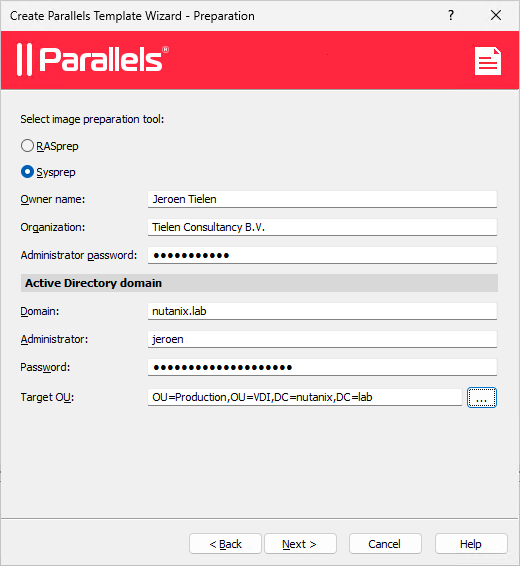
Now some Parallels RAS cool stuff. Select RASprep for fast prepping or use Sysprep to use the correct way as Microsoft designed their Windows. I’m using sysprep because I want all cleaning up to happen and that the machines will all get a new SID. But for speed (during boot of the hosts) you should select RASprep.
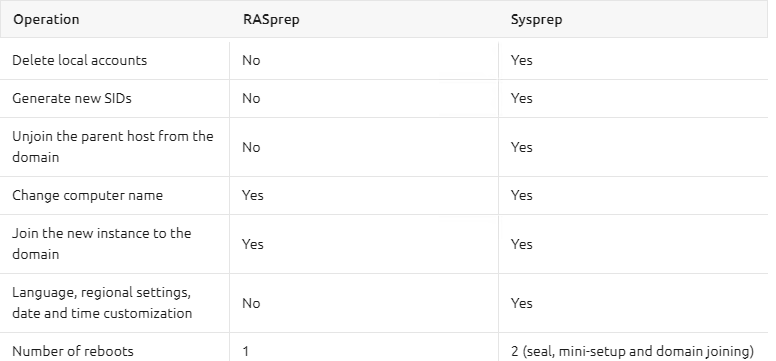
Hereby an overview about the differences. IT is up to you what you choose.
Now it is time for the optimization. Select all optimizations you need (I just select them all).
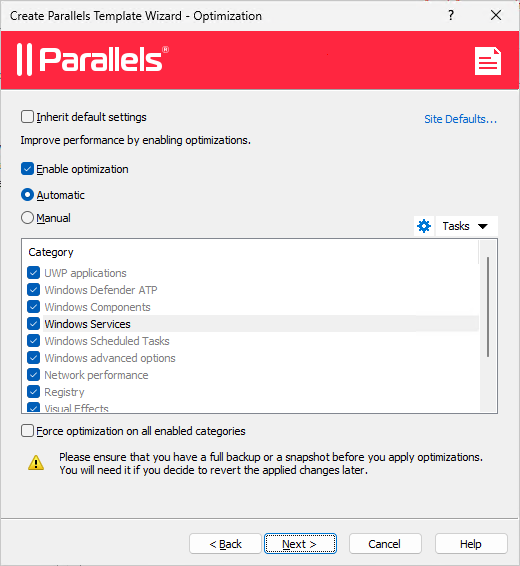
If you have problems during sysprep while deploying the hostpool you can add the following script in the custom script (at the bottom of the optimization list)
Get-AppxPackage -User $ENV:USERNAME | Remove-AppxPackage
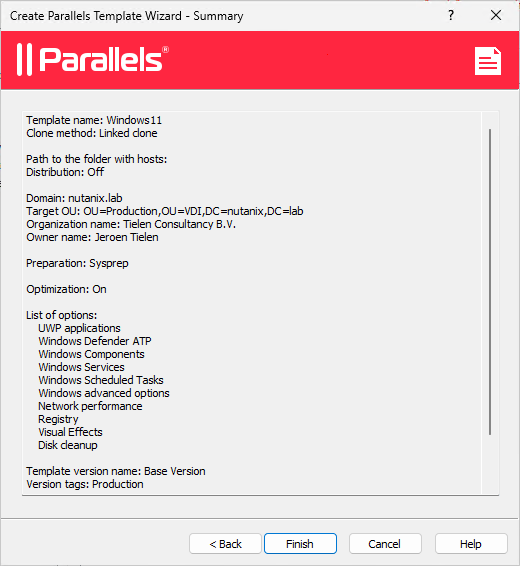
Now we need to select a name for the version. I just leave it default and add the Prodution tag.
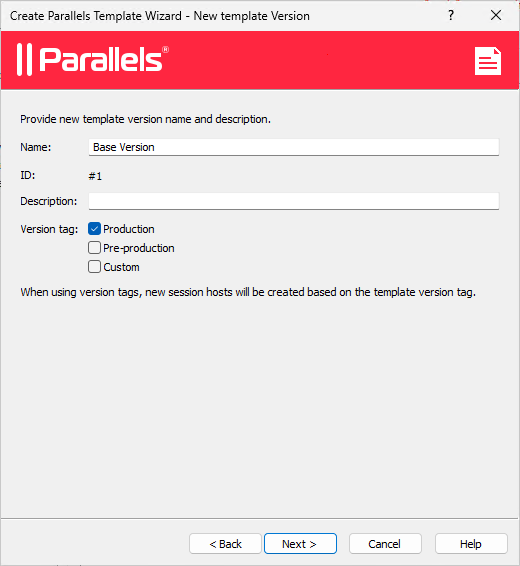
Click Finish.
Now the template will be deployed. Follow the Status and Agent Status.
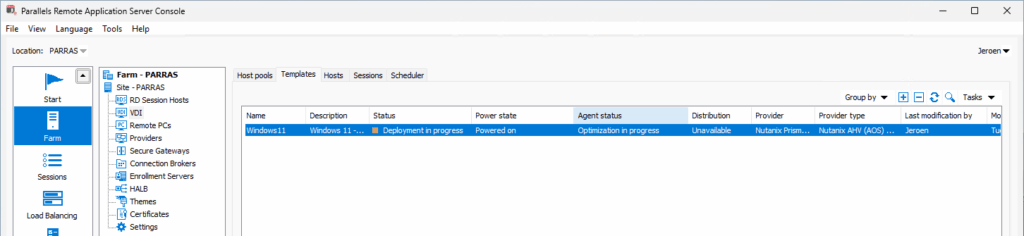
When the deployment is ready the virtual machine will be switched off and the status because green and “Ready”

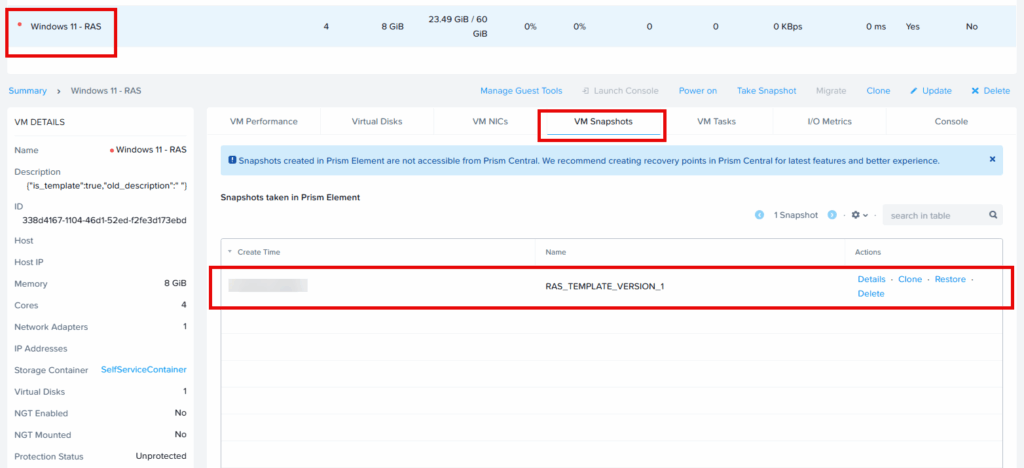
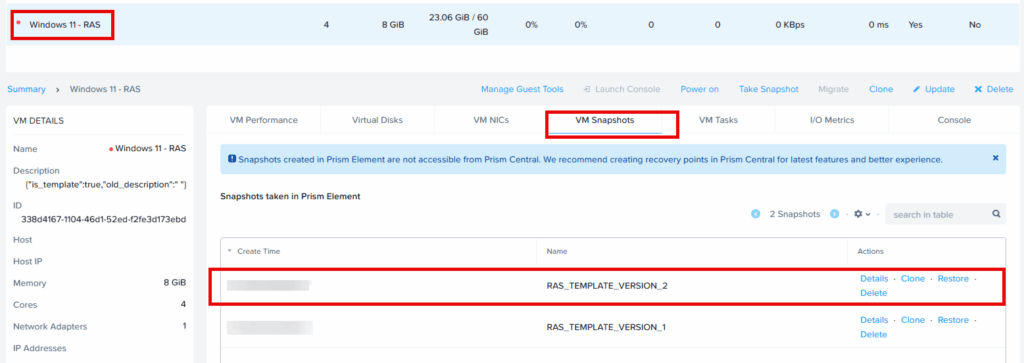
In Prism Element you will see the base version of the template we just created. It is a snapshot:
Host Pool:
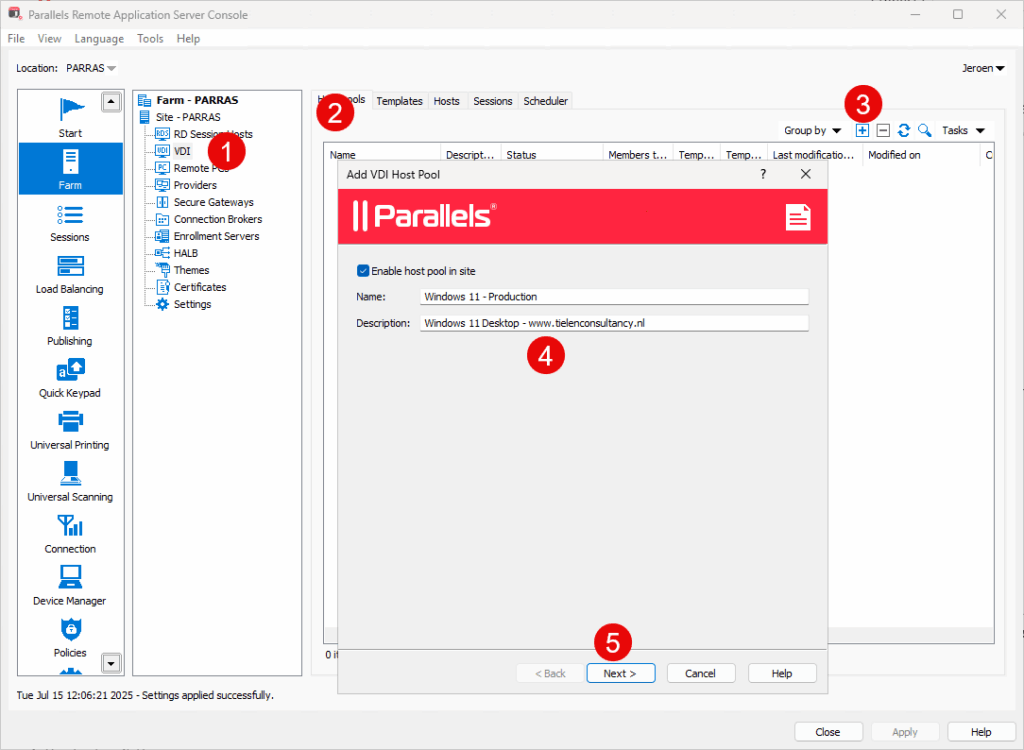
Lets make some VDI workloads to host the desktops for the users based on the template. In Parallels RAS hosts pool are the Citrix Computer Catalogs. Click on VDI –> Host Pools –> “+” –> Fill in the information –> Next.
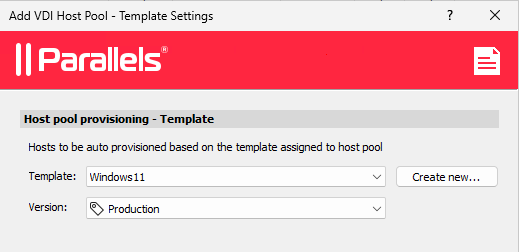
On the next page we choose the template we created earlier.
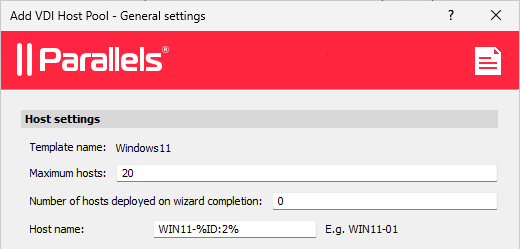
I only have a 20 CCU license so, for me, is doesn’t make sense to have more then 20 hosts. (Host is the Parallels RAS name for VDA in Citrix environments). Parallels RAS will clean-up hosts when not in use and will re-create them when needed. So I choose 0 for the number of deployed hosts on wizard completion.
My company is not that big (Just 1 employee 😉 ) so I want an availability buffer of 2. This mean there are always 2 hosts available to connect to. And when Powered On the user does not have to wait for the hosts to boot.
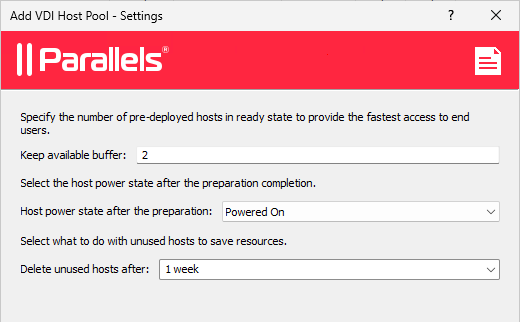
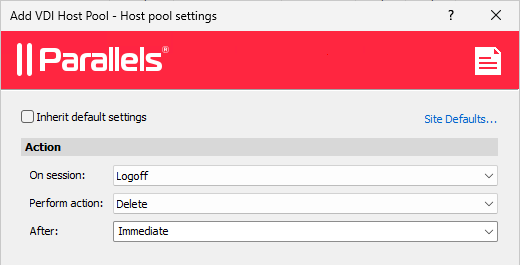
I want the hosts to be deleted immediate after logging of.
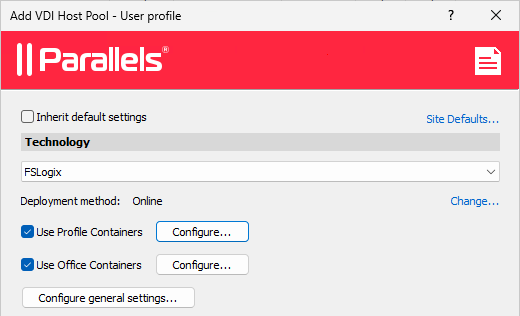
Following steps is pretty cool, we can configure and deploy FSLogix directly. So just fill-in everything and configure the containers as you like. I would recommend to install the FSLogix agent in the template or else every time the FSLogix agent will be installed on the hosts during boot. But for now I just leave it like the screenshot.
When the host pool is created you can publish it (Citrix name: Delivery Group). I will not cover that here.
Update Template:
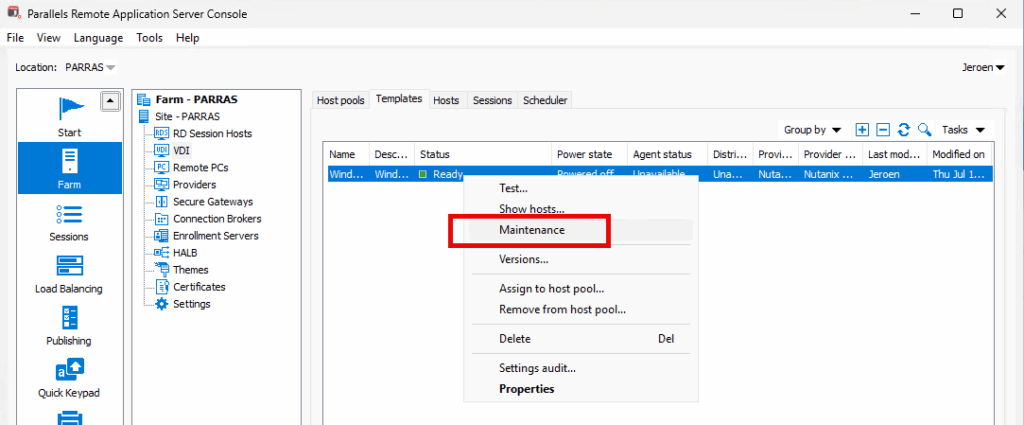
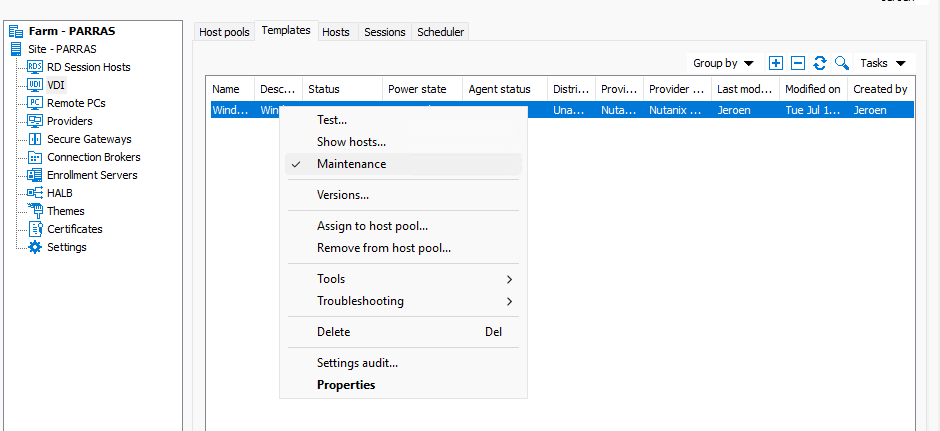
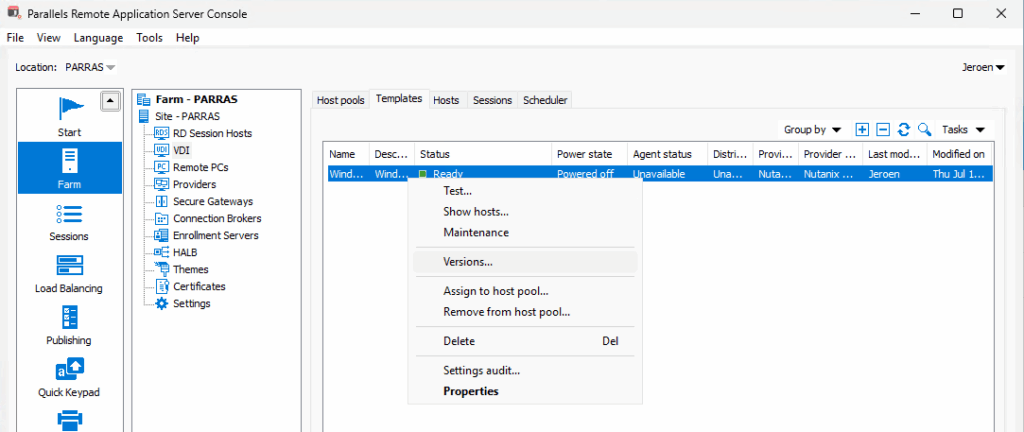
To update a Template don’t create snapshots (in Prism Element) and do you own updating. Follow the following steps to successful update the template and let all hosts use the new version. Right click on the template and choose “Maintenance”
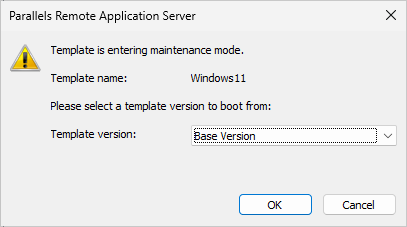
Now you can select the version you want to upgrade. Normally it is the last version but you can use an older version if needed:
On the Nutanix cluster the selected version will be restored from the snapshot (That is why you should never do your won snapshot management in Prism Element as this will break the template versioning) and the template machine will startup. When do are done updating the machine you can leave it on or shut it down. It doesn’t really matter. Right click on the template it end select maintenance again:
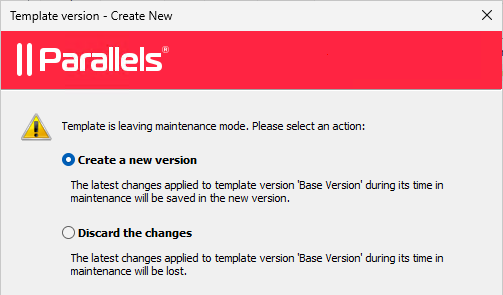
Select: Create a new version.
Give the new version a name and description. I’m
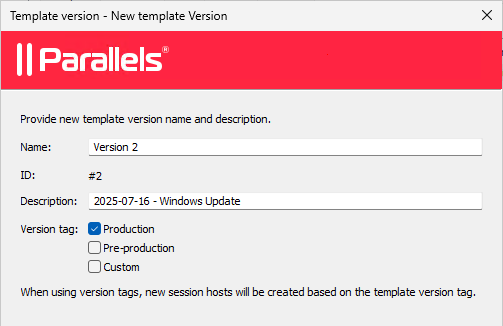
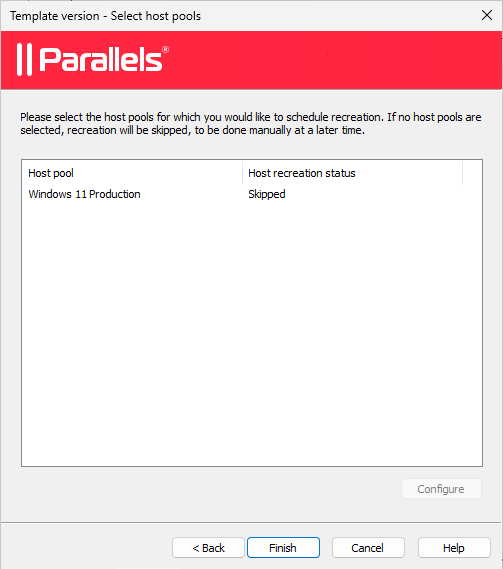
On the next screen you can select the host pool and click configure. Here you can select to immediate recreate the hosts or schedule it later. For now I will skip this.
The template will leave maintenance mode and a new snapshow will be created.
To let the hosts use the new template (you could easily done this during the update of the template but this is the manual way), for me it is really easy. Just recreate the hosts as I’m using the production tag 😉
Cleaning Up Versions:
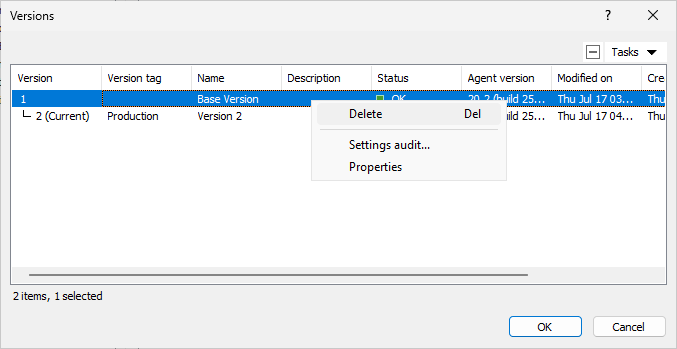
To clean-up the versions you don’t want to use anymore right click on the template and select “Versions”
Select the version and delete it. Keep in mind that if there are hosts still using that version that they will be deleted as well.
And that is it, easy Image Management and AHV Support in Parallels RAS.