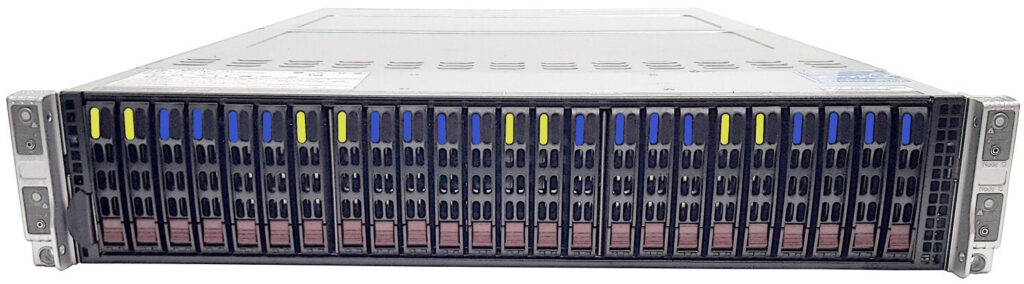
So you have some old Nutanix clusters laying around doing nothing? License and support is expired but the hardware is still good? You can install Nutanix Community Edition on those old nodes. The following steps will show you how to do this. I’m using my old NX-3060-G5 (3 node cluster) for this.
First make a note with all the required ip-addresses:
- Node 1:
- IPMI: 10.0.4.1
- AHV: 10.0.4.11
- CVM: 10.0.4.21
- Node 2:
- IPMI: 10.0.4.2
- AHV: 10.0.4.12
- CVM: 10.0.4.22
- Node 3:
- IPMI: 10.0.4.3
- AHV: 10.0.4.13
- CVM: 10.0.4.23
Make sure all interfaces and IPMI’s are attached to the correct switch ports. And make sure, if needed, the switch ports are configured with the correct VLANs. In my case I’m using as 10.0.4.0/16 subnet for CVM, AHV and IPMI. And there is no VLAN required.
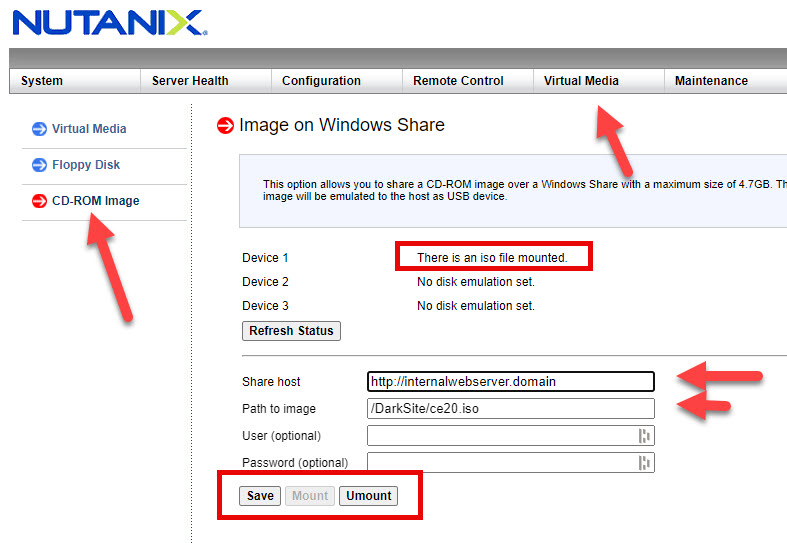
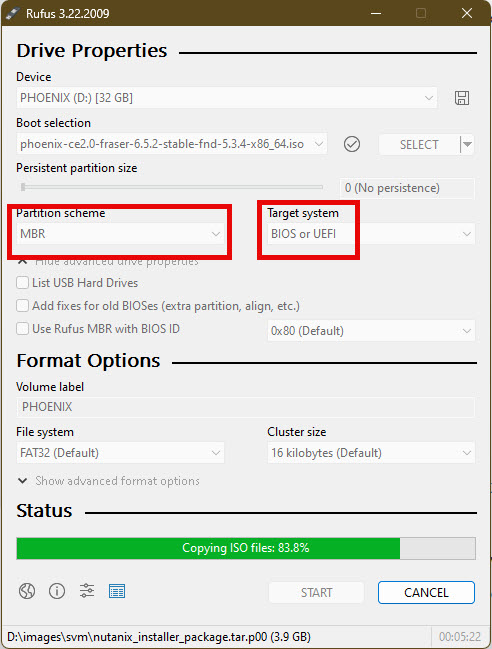
To configure the nodes mount the CE installer ISO (link) via IPMI or create a bootable USB stick with Rufus on Windows. In my case I chose the rufus method as the IPMI is somewhat tricky to do (create http webserver to host ISO file etc). Make sure that the bootable USB stick is created with the MBR partition scheme as older Nutanix nodes are configured for legacy boot.
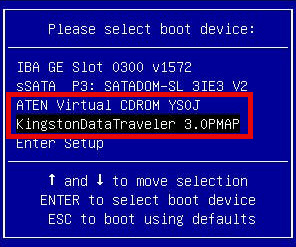
Now boot the node and press F11 to get into the boot menu. Choose your USB or Virtual CDROM(ISO via IPMI).
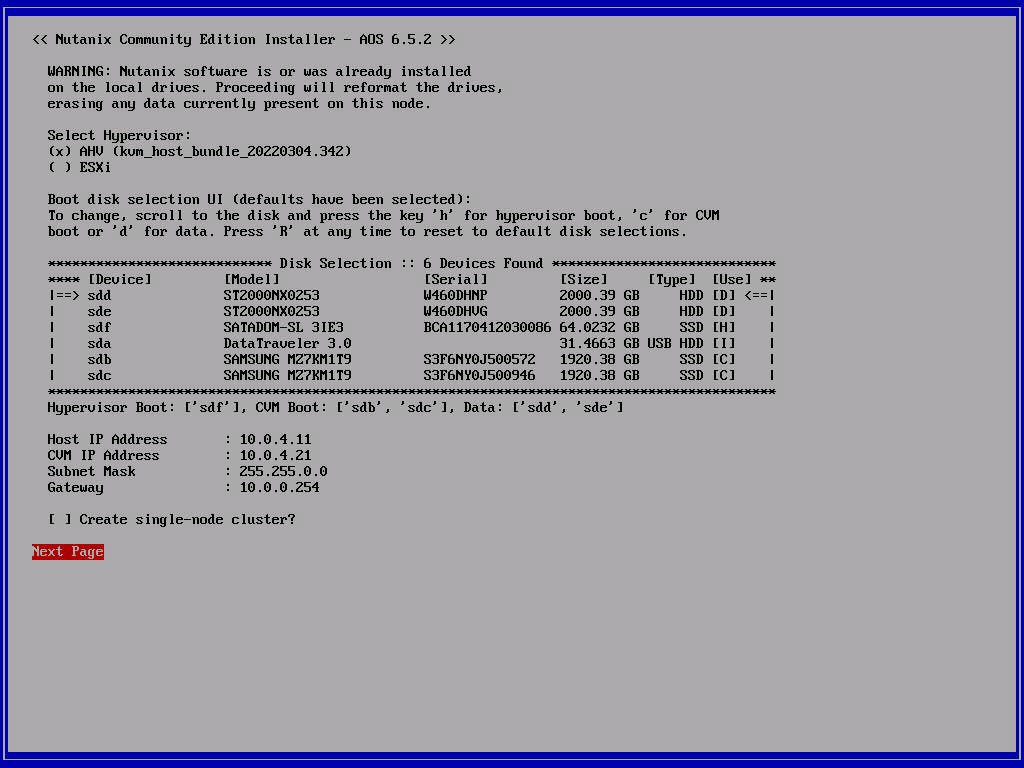
When the installer is booted select the correct disks and fill in the correct ip-addresses:

Above screenshot shows all disks I have in my node. Please make sure all disks are correctly chosen. In my case: 2x SSD for the CVM and all the HDD’s for Data. The SATADOM is for AHV (Boot disk). Requirements for CE (link) state: “Storage drives: A maximum number of SSD/HDD drives per node is 4.” So in my case I need to remove 2 HDD’s to meet this requirement. Lets do this and restart the installer:
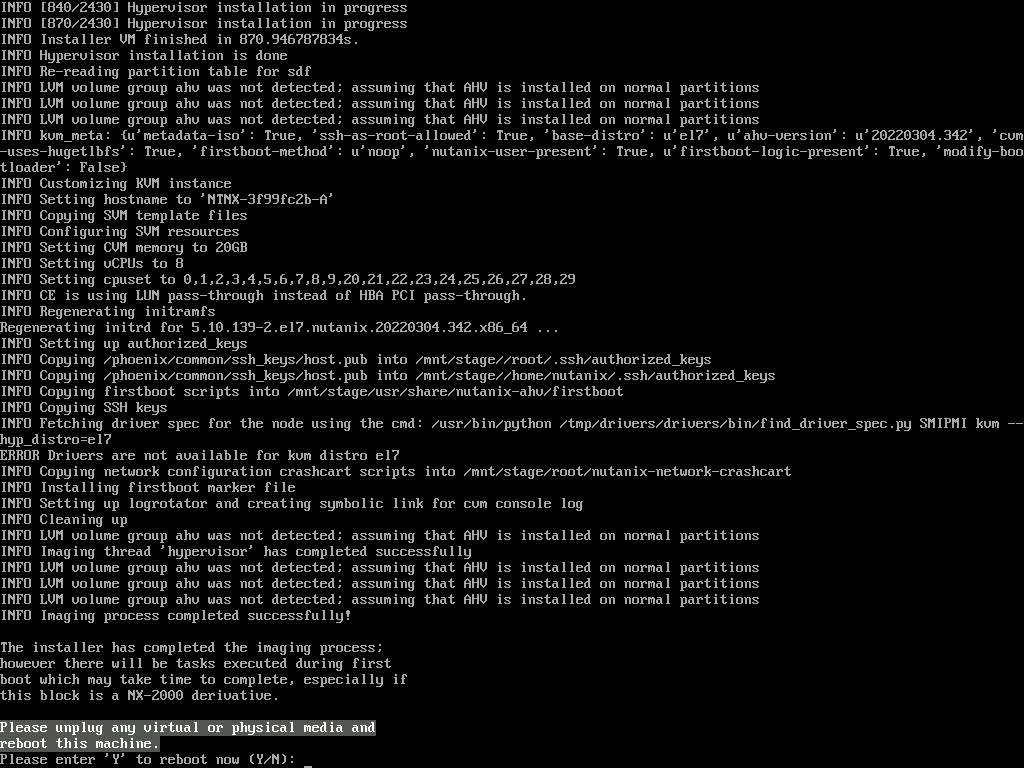
Now the disk layout is correct and I can continue with the installer. When the installer is done and ready for reboot unplug the USB stick (or unmount ISO via IPMI) and press: Y.
Now do the exact same steps for the other nodes. Continue below if all other nodes are installed correctly.
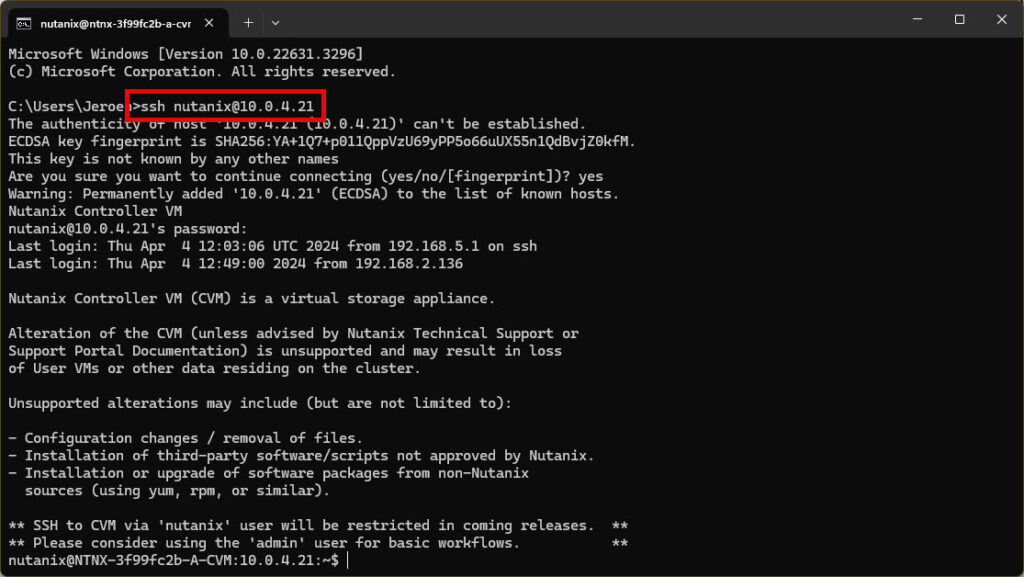
Now login, via ssh into one of the cvm’s:
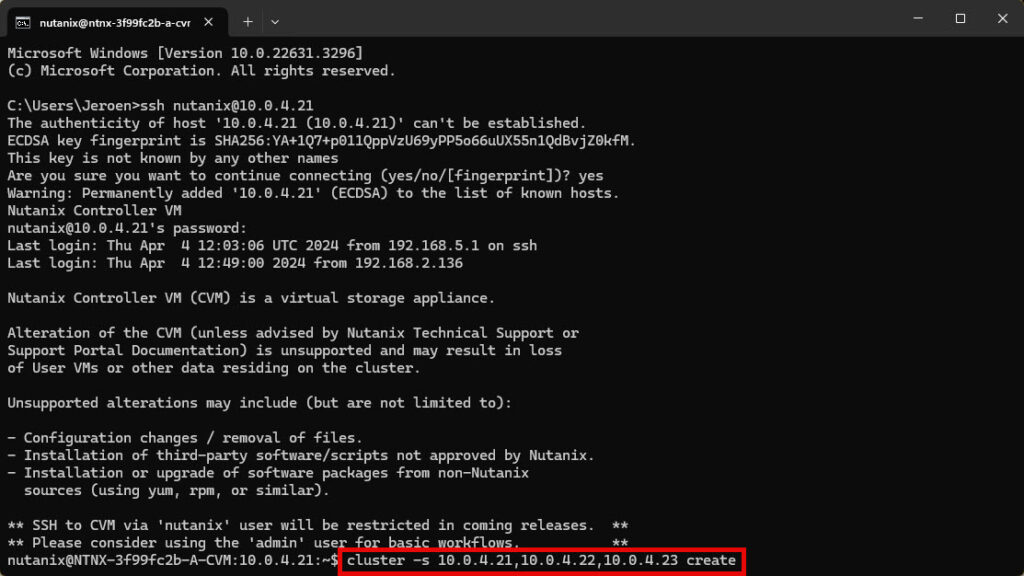
Now create the cluster with: cluster -s <comma separated list with cvms> create
When te cluster is created and started first check if it has access to internet (as this is mandatory for CE). Type: ping www.nutanix.com
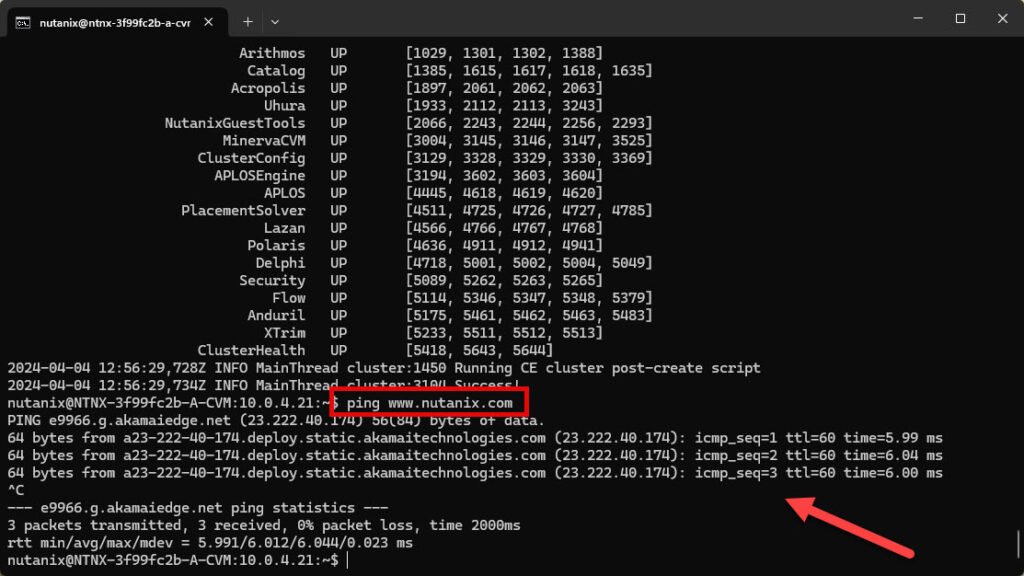
If DNS isn’t working you can add a dns server with the following command: ncli cluster add-to-name-servers name-servers=1.1.1.1

Now you can access the cluster via Prism Element. Finalize the configuration to your own needs. Happy recycling 😉
Discover more from Jeroen Tielen
Subscribe to get the latest posts sent to your email.

Absolutely fantastic the Nutanix technology
Mount via IPMI is relevant? CE size is bigger than 4.7Gb
Well booting from ipmi to install ce will give issues. Best is to create bootable usb stick with rufus and so skipping ipmi ;).