Post is updated with feedback from the community.
Nutanix just released the newest version of Community Edition (https://next.nutanix.com/discussion-forum-14/download-community-edition-38417) which hold the version number 2.1
This release is based on the commercial version AOS 6.8.1 and AHV 20230302.101023. This release is full of fixes we have found and discussed in the community forums (link) but the mayor two changes are:
- No more ESXi support (who uses that anyway 😉 ).
- Removed the checkbox to create a one node cluster (this gave to much problems so it is removed).
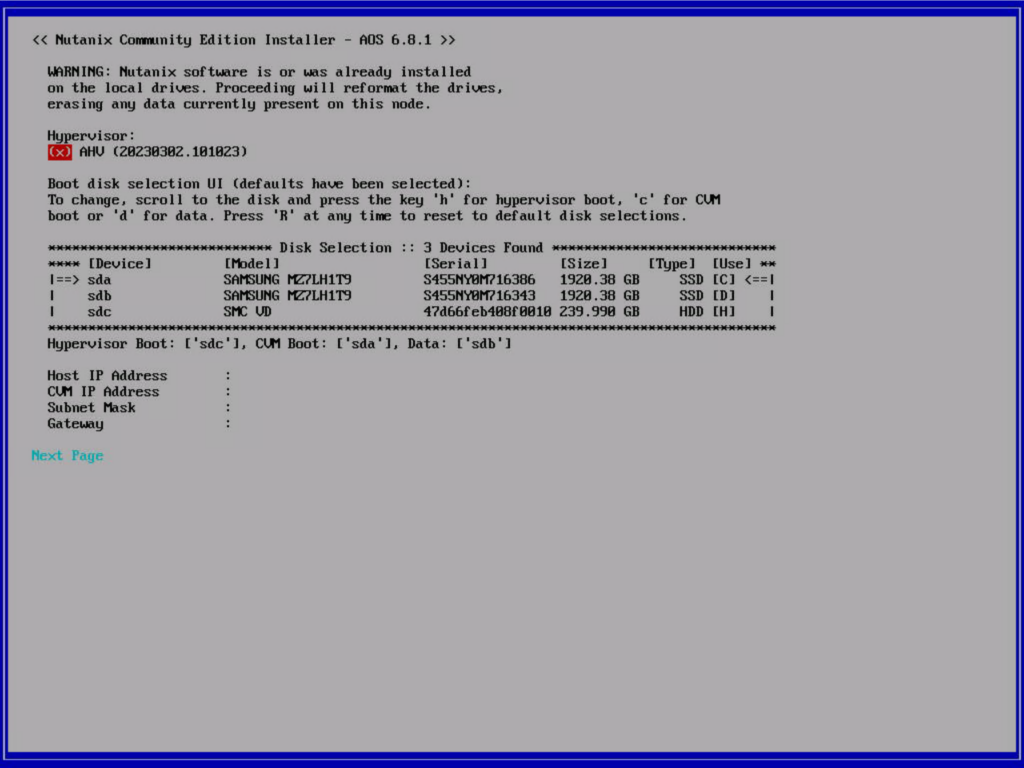
So how to create a single node cluster then? Here are the steps how to do this:
- Run the installer as you used to do;
- Create a bootable USB stick from the ISO with rufus in Windows and boot from it; (The ISO file supports UEFI and Legacy boot, and you node can also be in UEFI mode)
- Don’t boot from virtual media in IPMI/BMC/iLO/iDrac/etc as this will not work correctly;
- In the installation wizard select a disk for AHV, CVM and DATA. If you want RF2 (Replication Factor 2) make sure you select 2 disks for CVM and 2 disks for DATA;
- When the node is rebooted after the installation and the CVM is up and running ssh into the cvm with username nutanix and password nutanix/4u
- Create the single node cluster:
- When you have selected 1 disk for cvm: cluster -s <cvm ip> –redundancy_factor=1 –dns_servers 1.1.1.1 create
- When you have selected 2 disks for the cvm: cluster -s <cvm ip> –redundancy_factor=2 –dns_servers 1.1.1.1 create
- Note: The command to create a three node cluster is: cluster -s <cvm ip1>,<cvm ip2>,<cvm ip3> –dns_servers 1.1.1.1 create

When the cluster is created is is accessible via: https://<cvm ip>:9440
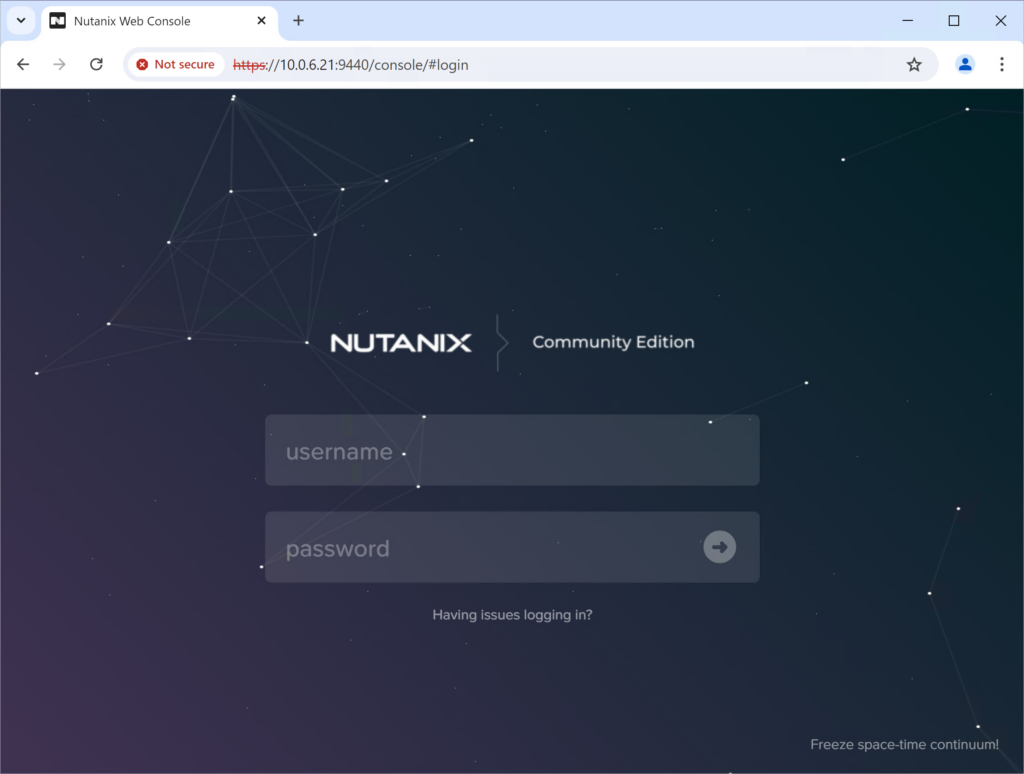
Login with the default credentials: admin nutanix/4u and change the password to your own. After you login again with the new password you are asked to login with you NEXT account. This is your account you use to login to https://next.nutanix.com and must have been registered to use community edition (do that here).
When your uefi virtual machines can’t boot you need to change the NIC type to e1000.
- Remove the current nic from your virtual machine.
- Create a new one from the console: acli vm.nic_create <vm-name> model=e1000 network=<subnet-name>
Here is a list of all my community edition blog posts (updated to CE 2.1 as well). This will probably help you with other questions 😉
- https://www.jeroentielen.nl/single-node-cluster-with-replication-factor-2/
- https://www.jeroentielen.nl/installing-nutanix-community-edition-ce-on-vmware-esxi-vsphere/
- https://www.jeroentielen.nl/install-nutanix-community-edition-on-proxmox/
- https://www.jeroentielen.nl/update-nutanix-community-edition-to-the-latest-versions-or-sts/
- https://www.jeroentielen.nl/change-nutanix-community-edition-cvm-memory/
- https://www.jeroentielen.nl/installing-nutanix-community-edition-ce-on-vmware-workstation/
- https://www.jeroentielen.nl/running-nutanix-community-edition-on-an-external-disk/
